Begin the fuselage: Rear rib assembly
The first step to building the fuselage is putting together the rear rib assembly.
This is the structural component that goes in the tail of the aircraft and to which the empennage attaches.
First things first, more damage ... a small dent!:
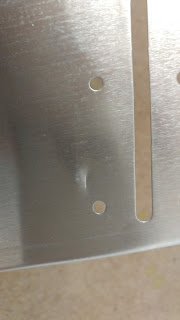
Not a big deal, carry on ...
Test fit some of the parts (Looks like I forgot to take a picture of one of them, there's actually four):


This is the structural component that goes in the tail of the aircraft and to which the empennage attaches.
First things first, more damage ... a small dent!:

Not a big deal, carry on ...
Test fit some of the parts (Looks like I forgot to take a picture of one of them, there's actually four):


You can see all four laid out here however:

After priming and assembly, the final result! Everything went swimmingly well with this assembly, I am happy to report:

The anchor nuts at the back:

The manual calls for AN3 bolts in this location, but did not specify the length ... -4A looked like they would be a tight fit possibly too short, based on the idea that at least 2 threads should stick out past the nut. So I used -5A's ... I've got about 3-4 threads showing, so that's good. I may find myself short some -5A's later, but they're cheap and easy to get!

And here finally a better view of the hole thing:

The angled part on the left is where the forward part of the vertical stabilizer gets connected, and the two vertical supports behind that are where the horizontal stabilizer connects.
All done! Next, rib 5.
Comments
Post a Comment